Choose your model
Start with the manual written for your Nature's Head, Weekender, or urine-diverting model.




Nature's Head Support Center
Find the correct manual for your model and get clear installation guidance for RVs, vans, boats, cabins, tiny homes, and other off-grid spaces.
Use these three steps to quickly find the information that applies to your toilet and installation.
Start with the manual written for your Nature's Head, Weekender, or urine-diverting model.
Select the correct exterior vent and decide whether the fan will use 12V DC or a household outlet.
Review the relevant manual and installation guide before drilling mounting, vent, or drain openings.
Each model has different dimensions or urine-routing requirements. Select yours to open the correct documents.
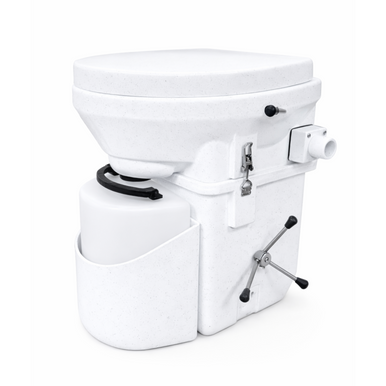 Full-size self-contained
The standard model with a removable 2.2-gallon liquids bottle.
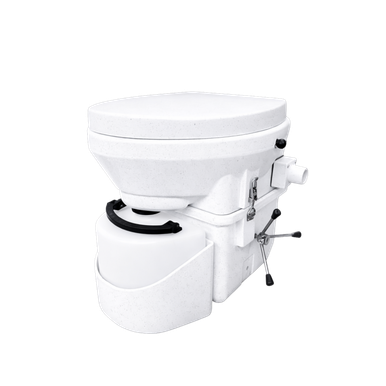 Compact self-contained
The shorter model with reduced solids and liquids capacity.
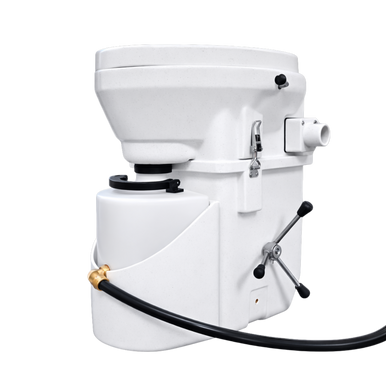 External liquids tank
Routes liquids through a flexible outlet to an external tank or approved system.
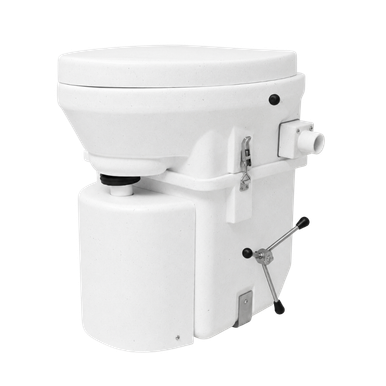 Vertical floor drain
Routes liquids vertically through the floor to an external tank or approved system.
The toilet's ventilation and power needs are simple, but the best route depends on where it will be installed.
Connect the included fan cable to 12V DC. Vent through a sidewall or roof; venting through the floor of a moving vehicle is not recommended.
View the Shell Vent KitUse the included 12V connection or add an AC adapter for a household outlet. The Shell Vent Kit provides a finished wall penetration.
View the AC adapterUse the included 12V connection. A marine mushroom vent can terminate the exhaust through a cabin side, cabin top, or suitable existing opening.
View the Mushroom VentChoose a secure mounting surface and an exterior vent route. For concrete floors, mounting the toilet to a finished plywood platform may simplify installation.
Open the mounting guideOpen a topic for the key details that apply to most installations.
The toilet includes the primary components for a 12V installation, including the fan, power cable, mounting hardware, vent hose, and hose ends. The exterior vent is selected separately because the correct termination depends on the installation. A household AC adapter is also separate because it is only needed when 12V DC power is unavailable.
Route the supplied vent hose to an appropriate exterior termination with as few restrictions as practical. Longer runs may use additional hose or compatible 1-1/4-inch PVC where appropriate. RV and other moving-vehicle installations should vent through a sidewall or roof rather than through the floor.
The fan operates on 12V DC and draws very little power. The supplied cable can connect to a suitable 12V system. If only a standard household outlet is available, use the Nature's Head AC adapter to supply the required 12V power.
Use slightly hydrated coco coir or organic sphagnum peat moss without fertilizers or additives. Do not use garden soils or enriched products such as Miracle-Gro peat moss. Nature's Head 9L bagged coco coir is correctly sized for one startup or change-out and is ready to use.
Use fasteners appropriate for the floor material and make sure the toilet can be released from its mounting brackets when service is needed. On concrete, some owners secure the toilet to a finished plywood platform instead of drilling directly into the slab.
Tell us which toilet model you have, where it is being installed, and how you plan to vent and power the fan. Photos of the space are helpful for application-specific questions.
Open any document in a new tab to view, save, or print it.